
How to Use a Custom GPT
If you’ve just purchased a custom GPT from Affirmed Visionary — congrats, Visionary! You’re about to unlock a whole new level of ease, clarity, and creativity. But what is a custom GPT, and why is it different from regular ChatGPT?

A custom GPT is like your own AI bestie — fully trained and styled for a specific purpose. Unlike the standard ChatGPT, a custom GPT is tailored to do one thing really well — like helping you write affirmations, create digital product descriptions, manage journaling prompts, or guide your healing journey. It’s like having a specialist in your pocket.
Whether you’re brand new to AI or just diving deeper, this guide will walk you through exactly how to use a custom GPT, step-by-step.
How to Use a Custom GPT in 5 Easy Steps
Click on any step below to jump to the full details further down the page
Why Use a Custom GPT?
Unlike the generic ChatGPT, custom GPT’s are:
Basically, it’s like having a mini-you that works 24/7, without burnout.
Want to Learn How to Make Your Own?
Imagine creating your own line of custom GPTs — for your business, your clients, or even to sell as digital products.
Inside DCT (D.I.A.L by Cocoa Twins) Accelerator, you’ll learn how to build, brand, and monetise GPTs with ease. It includes the DCT Mentorship Program, and it’s where I consistently provide value and support.
This is your chance to future-proof your brand and expand your digital empire.

Step 1: Open Your Deliverable PDF
After purchase, you’ll receive a PDF file. Inside is your exclusive GPT link — look for a button or phrase that says “Let Me In” or something similar.
This link takes you directly to the custom GPT page on ChatGPT.com — no tech setup needed.
Step 2: Click the “Let Me In” Button or Link
Click the link in your PDF to be taken straight to the GPT. It will open in your browser, whether you’re on mobile or desktop. You don’t need to download anything.
Note: not every seller will provide a deliverable PDF, you may just receive the link that will take you straight to the GPT


Step 3: Log in or Sign Up for ChatGPT
To use your custom GPT, you’ll need a free ChatGPT account. If you don’t already have one, signing up is quick and easy.
Good news: You do not need a paid subscription to use custom GPTs.
Free users can open and interact with any GPT that has been shared with them — like the one you’ve just purchased.
Important: If you ever want to create your own custom GPT, that does require a ChatGPT Plus subscription (around $20/month). But to use this one? You’re good to go with a free account.
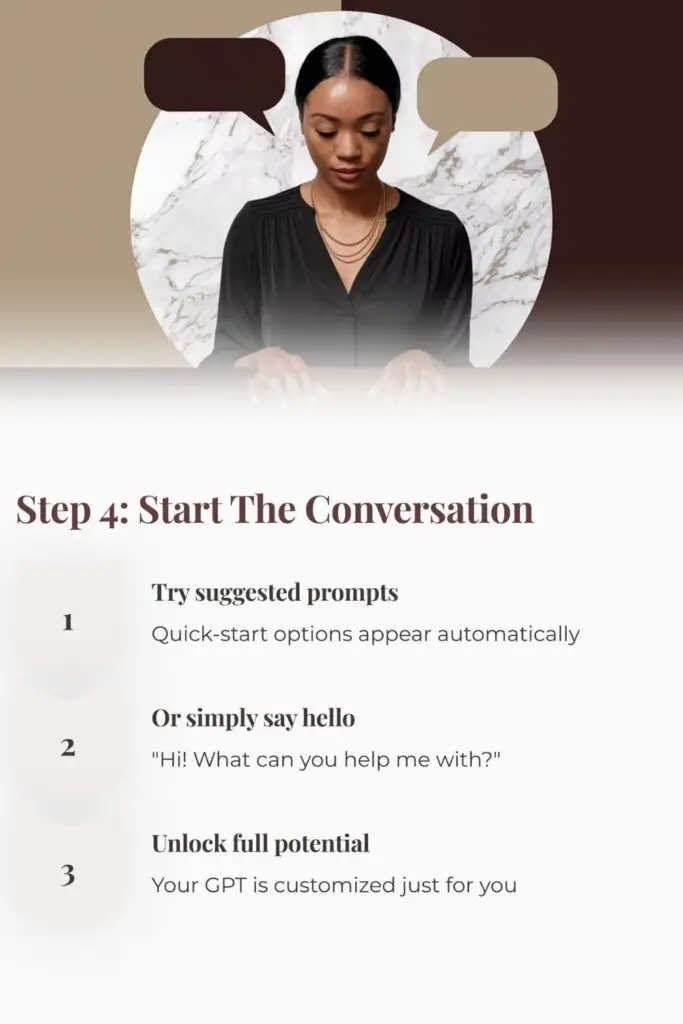
Step 4: Start Chatting with Your Custom GPT
Once you’re in, you’re ready to go! Just start typing your question or task like you’re talking to a friend. Most custom GPTs include conversation starters right below the name and description — these are suggested prompts to help you get the most out of your AI assistant.
Examples of conversation starters might include:
“Create 5 affirmation cards for Black women healing from burnout.”
“Help me design a journaling prompt about inner child healing.”
“What digital products could I sell based on my story?”
If you don’t see any conversation starters listed, no worries! Here is how to use a custom GPT with starters: You can begin with this powerful, all-purpose prompt:
“Hi! What can you help me with, and how are you different from the regular ChatGPT?”
This will trigger the GPT to introduce its capabilities and guide you through its features. It’s a great way to learn how to use your assistant to the fullest.
Step 5: Bookmark It or Add to Favourites
At the top of your custom GPT page, click the ⭐ “Add to Favourites” button to return at any time easily.
You can also save it as a shortcut on your phone for quick access on the go.
Pro Tip: If you’re using multiple custom GPTs — especially if you’re building a digital product empire — it’s easy to lose track. Grab our AI Command Centre for Notion to organise all your GPT links, note what each one does, and even track your content ideas. It’s the perfect HQ to keep your AI tools flowing in alignment with your goals.
Access the Notion AI Command Centre here. You can even save this post, “How to use a custom GPT” in the resource database.


